|
|
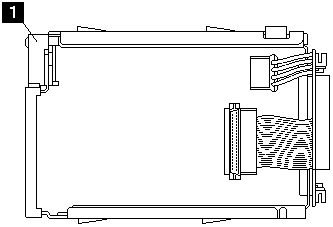
 Do not operate the latch mechanism 1 until the hard disk
drive is secured in the tray. The latch mechanism is used to lock the tray in place after it is inserted in the
computer or expansion enclosure.
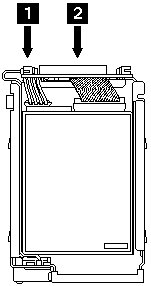
 Damage will occur to the drive you are installing if you do not use the correct cable.
Follow these instructions exactly. If you are installing a 1.0GB Fast/Wide SCSI-2 Hard Disk Drive, you must use the cable labeled with FRU PN 06H8664.
The FRU PN can be found on a small label attached to the drive. If you are installing an Ultrastar Hard Disk Drive or an IBM Fast/Wide SCSI-2 Hard Disk Drive for PC Servers,
use the other cable.

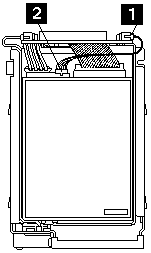
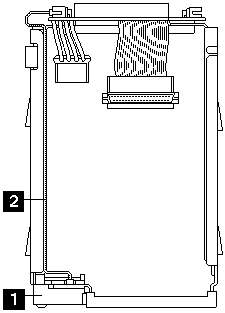
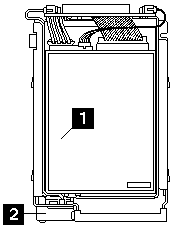
 Ensure that the spring clip 1 that holds the tray latch 2. in place along the tray rail is secure.
Do not operate the latch mechanism until the hard disk drive is secured in the tray.
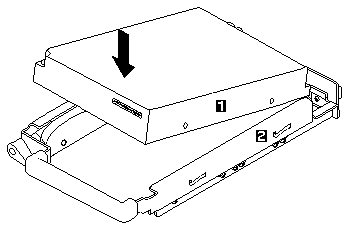
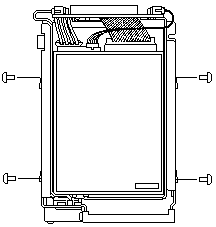
 Ensure you are using the correct size screws to attach the disk drive to the tray. If the screws are longer than 5mm (3/16 inch) you might damage
the hard disk drive.
Please see the LEGAL - Trademark notice.
Feel free - send a  for any BUG on this page found - Thank you.