|
|
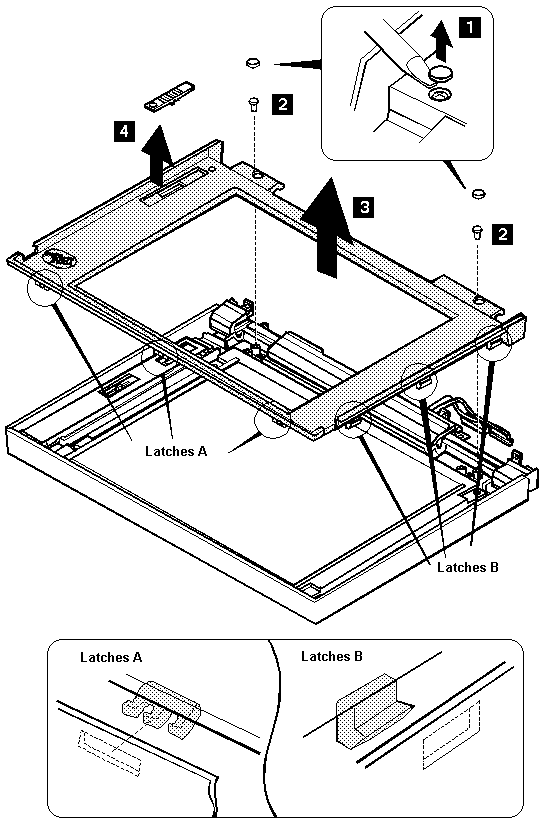
| Step | Screw Location (Quantity) | Length |
|---|---|---|
| 2 | LCD Front Cover (2) | M3 x 6 mm |
NOTE: Make sure you use the correct screws when replacing.
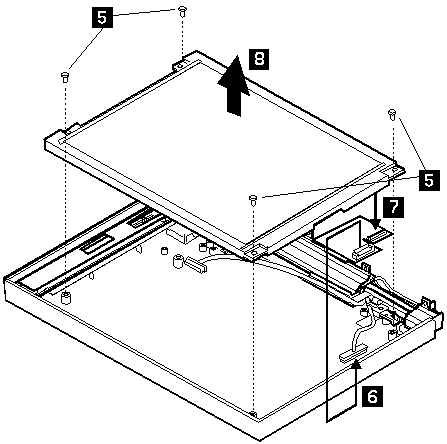
| Step | Screw Location (Quantity) | Length |
|---|---|---|
| 5 | LCD Panel (4) | M3 x 6 mm |
NOTE: Make sure you use the correct screws when replacing.
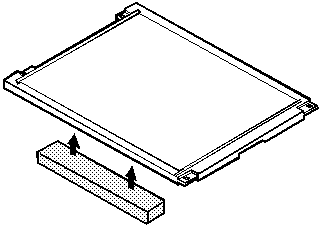
When replacing the LCD panel, glue the rear foam on the rear of
the LCD as shown below.
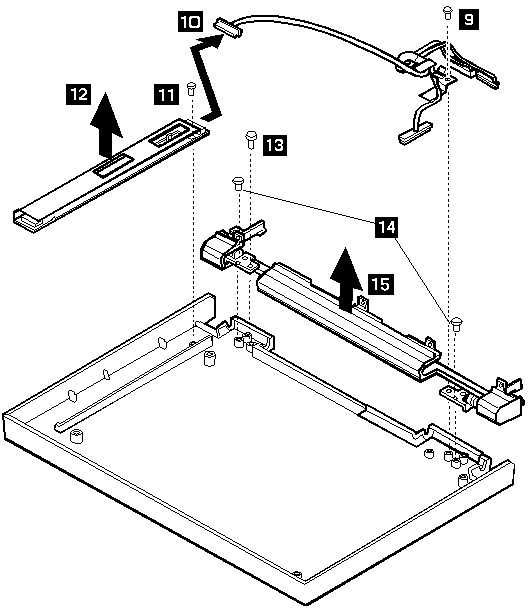
| Step | Screw Location (Quantity) | Length |
|---|---|---|
| 9 | LCD Cable (1) | M3 x 6 mm |
| 11 | Inverter Card (1) | M3 x 6 mm |
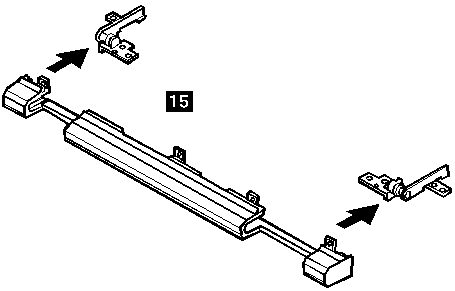
| 13 | Right Hinge (1) | M3 x 6 mm |
| 14 | Hinge (2) | M2 x 4 mm |
NOTE: Make sure you use the correct screws when replacing.
Please see the LEGAL - Trademark notice.
Feel free - send a  for any BUG on this page found - Thank you.