
Dell™ Inspiron™ 600m Service Manual
|
|
CAUTION: Before performing the following procedures, read the safety instructions in your Owner's Manual. |
 |
NOTICE: To avoid electrostatic discharge, ground yourself by using a wrist grounding strap or by periodically touching an unpainted metal surface (such as the back panel) on the computer. |
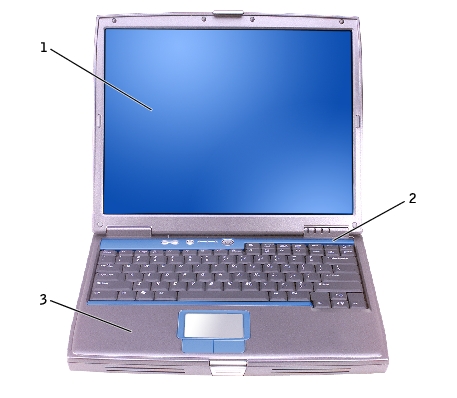
1 |
|
2 |
|
3 |
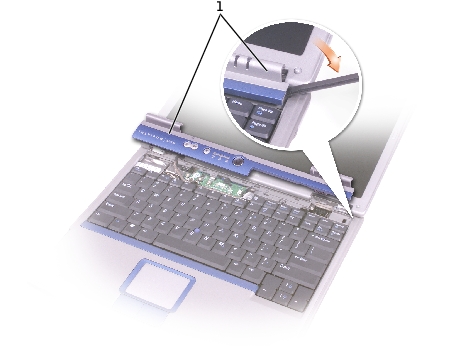
1 |
center control cover |
|
NOTICE: The keycaps on the keyboard are fragile, easily dislodged, and time-consuming to replace. Be careful when removing and handling the keyboard. |
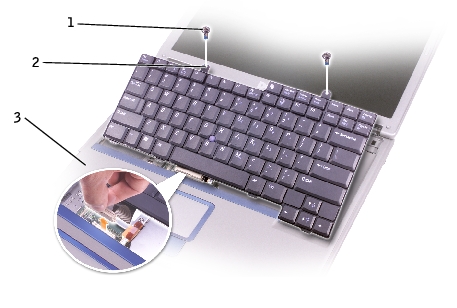
1 |
|
2 |
|
3 |
 |
NOTE: When you replace the keyboard, ensure that the keyboard tabs are completely in place to avoid scratching the palm rest. |